
Rohan vs Isengard
700 pts Army Lists
Rohan (Mayor):
Warband 1:
Theoden w/ Horse (Leader)
8x Riders of Rohan w/ 1 Banner
4x Rohan Royal Guard w/ Horses and Throwing Spears
Warband 2:
Aragorn w/ Horse and Elven Cloak
Legolas w/ Horse and Elven Cloak
Gimli w/ Elven Cloak
Isengard (Onod):
Warband 1:
Saruman
Grima
Orc w/ Banner
6x Orcs w/ Shield
6x Orcs w/ Spear
3x Crebain
Warband 2:
Orc Captain w/ Shield
1x Orc w/ Shield
1x Orc w/ Spear
2x Orc w/ Two-Handed Weapon
2x Orc w/ Bow
Demolition Team w/ 2 Flaming Brands
Warband 2:
Orc Captain w/ Shield
1x Orc w/ Shield
1x Orc w/ Spear
1x Orc w/ Two-Handed Weapon
2x Orc w/ Bow
Demolition Team w/ 2 Flaming Brands
Game Type
Capture and Control: Both forces are fighting over 5 different objectives (1 in the middle, and 4 arranged equidistant from the centre in a cross shape). Once a model takes an objective, it remains in that players control until an enemy model moves into base contact with the objective, and shifts control back.
Once a force is broken, players start rolling to see when the game ends on a 1 or a 2.
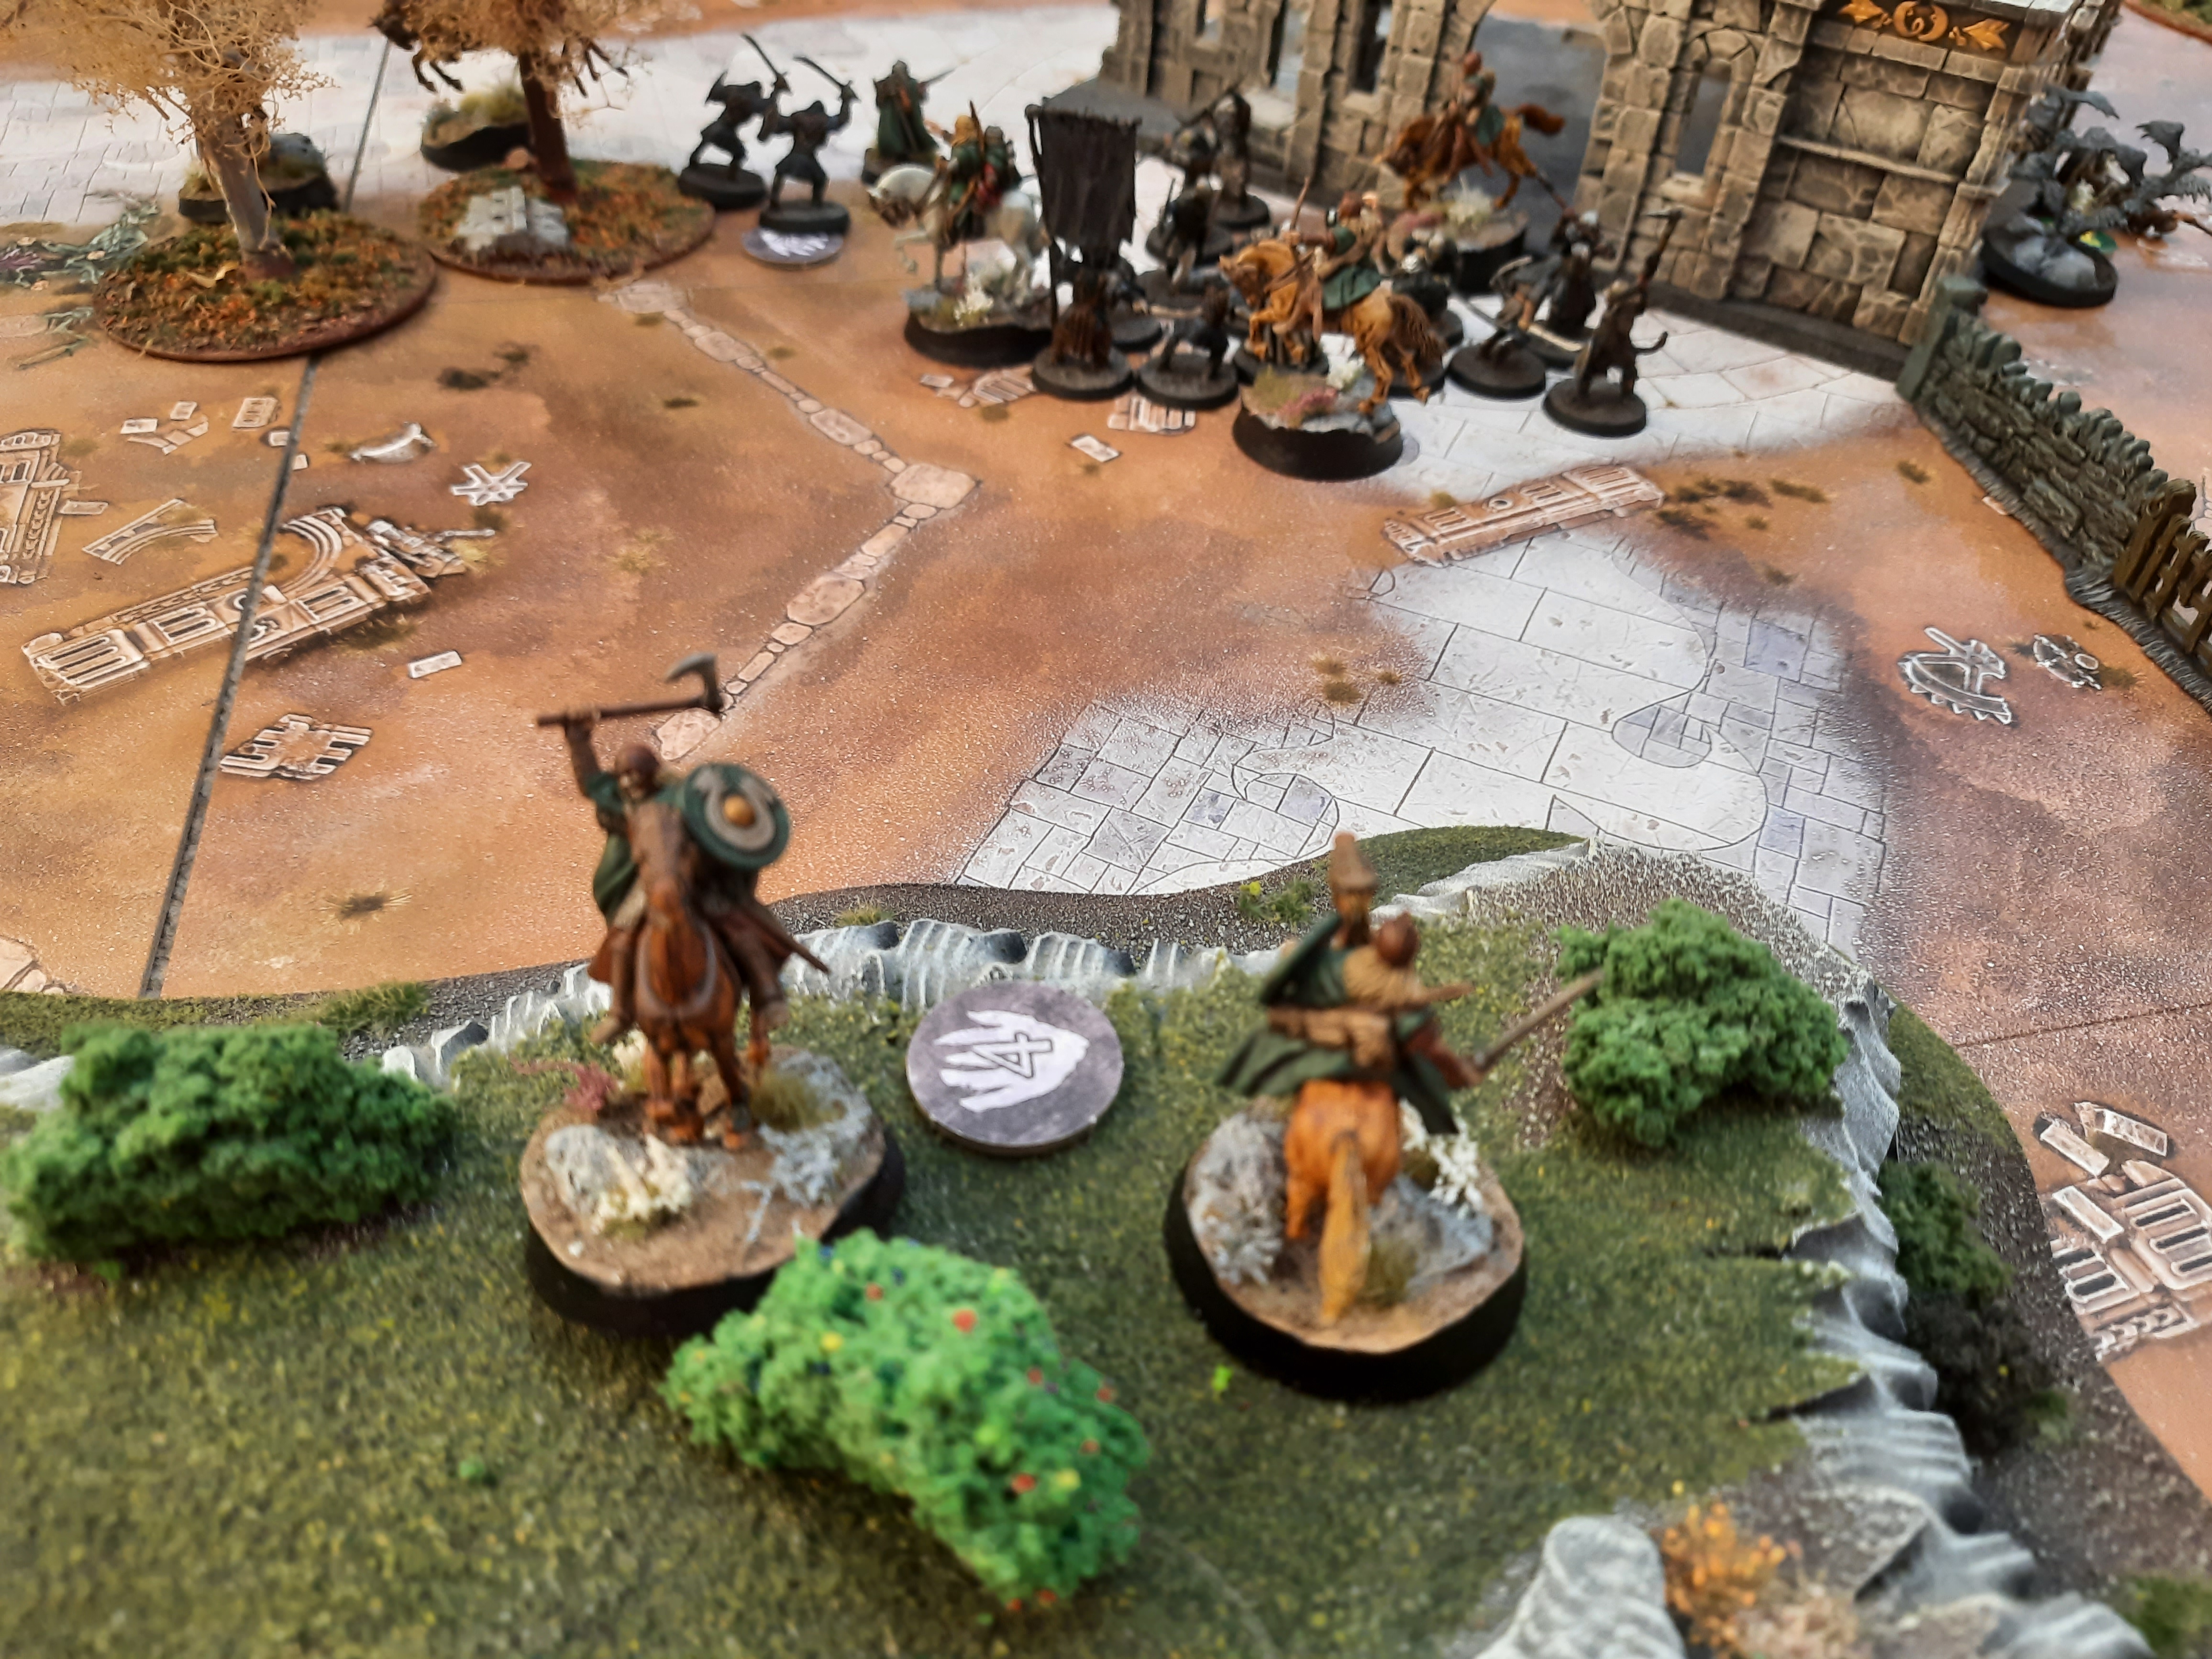
Board and Deployment
 |
| Each objective is a little present- I wonder what could be inside! |
Each player deploys warbands alternately, rolling to see if they have to deploy in the back half of their side, or can use the whole of their table. The Isengard forces deployed aggressively, using the two bombs to put pressure on the central, and bottom objectives. Saruman deployed last on Isengard's left flank, allowing his Crebain to move to the top and left objectives.
The Rohan forces are more cautious. Theoden's warband deployed in a half-moon, preventing Grima from being able to escape if Isengard won priority. The Fellowship deployed in front, but held back, safely out of bomb-threat range.
Turns 1 & 2
The first two turns saw a lot of manoeuvring. Grima was immediately trapped with 3 Riders of Rohan, and prevented from moving- but this also prevented a fairly large chunk of such an elite army from doing anything. Meanwhile, Aragorn uses his Might to Heroic March the Rohan forces towards the bottom objective, circling away from Saruman.
The Isengard forces use the first two turns to mop up the objectives, ending with 4/5 by the end of the 2nd turn. 3 of the Orcs with bows climb up onto the ruin, where they will have a vantage point over the oncoming Riders, whilst the Warband backs out of charge range.

 |
| State of the board at the beginning of Turn 3 |
Turn 3
With Isengard winning priority, the warband facing the Riders attempts to launch the Bomb up the field with a Heroic March to catch the Riders off-guard. There aren't quite enough Orcs to pin any of the Riders without charging however, so they end up slightly exposed, and the Rohan easily manage to flank and bring the Orcs into combat (Ed- this was a bit of a misplay on my part- concerned that I wasn't going to get the chance to use the bomb if Aragorn charged in alone. As per the FAQ, you need two enemy models in range before you can activate the bomb!)
The Shoot phase is uneventful, except for Legolas picking off an Orc.

In combat, the Rohan destroy the Uruks and Orcs with ease, leaving the bomb unguarded, and ready for deactivation. Though successful against the Orcs, a curious little quirk of the combat was that Theoden and a Rider failed to win the combat against the Crebain. Not only this, but the Crebain then turned around and killed Theoden's Horse, and taking Theoden's only Fate point with it! Theoden was now stuck at the far edge of the table, the only model on his side without a mount.
 |
| A win for the little |
Turn 4
With the Isengard forces on the ground cleared from one objective, the Rohan forces consolidate, approaching on the middle objective, but once again steering clear of bomb-threat range. Aragorn charges into the Crebain, seeking vengeance for Snowmane. In the Isengard move, Saruman Commands a Royal Guard forward into the doorway of the ruins, before piling in Orcs to once again attempt to get another kill.
In the Rohan shooting, Legolas picks up a dead Orc for his tally. In the Isengard's Shooting Phase, the Orcs on top of the ruins manage to pick off a Rohan Royal guard- a very good kill for the token-bows in the force, and are proving to be more of a nuisance than the Rohan at first imagined.
 |
| Lethal aim |
In combat, Aragorn quickly dispatched the Crebain, whilst the Rohan Royal Guard, despite suffering the effects of Transfix, was able to beat back the attacking Orcs.
Turn 5 & 6
Rohan win priority, and reorganise their lines, Aragorn moving back to command the forces. With Theoden now falling behind, it's decided that he will start climbing up the ruins to tackle the pesky Orc archers. It's also decided that the Rohan guarding Grima are now needed to flank the Isengard forces, and ride away from Wormtongue. Over the next turns, the Isengard Crebain swoop in to take the objective off the Rohan, and Grima then sits on top of it for the remainder of the game- essentially removing it from play for the rest of the game.
In the combat phase, the Orcs succeed in killing the Rohan Royal guard in the doorway- clearing the way for Turn 6...
With Rohan winning priority, Aragorn leads an aggressive push- charging through the doorway to fight the Orcs. Aware of the threat of the bomb, the Riders begin flanking around, leaving Aragorn alone, but with little threat in combat from the Isengard forces. Saruman uses Transfix on Aragorn, who fails to resist with 2 Will. Despite this, Aragorn still wins the fight.
Turn 7
Isengard win priority, and both Aragorn and the Orc Captain call Heroic Moves, with Aragorn winning. Aragorn once again charges in alone, with the only Rohan nearby being the banner- though still safely out of Bomb range. This proved to be a fatal error by the Rohan however, as in Saruman's move, he Command's the banner forward- and with no Will to resist, the Bomb team move into position.
 |
| We had to lie the banner down to avoid damaging it under the ruin |
In a last ditch attempt to prevent detonation, Legolas swings round the ruin to fire a shot at the Berserker. His arrow hits, and then it wounds... but just like the movies, it's not enough! The Berserker shrugs it off on a 6, and now Aragorn can only hope for the Uruk's courage to fail, or for the Bomb to be a dud...
In the Fight Phase, the Berserker attempts detonation first, and scores a double 6 on his courage test. Following this, Onod then rolls a 6 on the detonation chart- a titanic explosion. Aragorn's only chance is now for the luck of the Dice to change...

But it doesn't. With another 6, and a 1, there's no way for any of the models to survive, and Aragorn is slain. (Ed: there was a little bit of muttering from the Mayor about the chances of rolling five 6's in a row- but he conceded his mistake in forgetting Saruman's Command range)
In retaliation, Theoden slays an Orc archer on the ruins, but it feels like an important moment in the battle- and the forces of the Rohirrim are now forced to commit their army to try and take the centre of the table.
Turns 8 & 9
With the Rohan in shock, they begin to charge into the retreating Orcs in Turn 8. Gimli and Legolas both move in, as the only remaining Heroes who can reach the Isengard forces.
With the Objective score in Turn 8 being 4-1 in favour of Isengard, time is running out for the Rohirrim. Two Riders storm the objective on the Hill, slaying the Crebain protecting the Objective, and taking it on Turn 9.
Sensing the danger they were in, with a precarious 3-2 lead in Turn 9, and with Gimli and Legolas hacking through Orcs to reach the central objective, Saruman uses his Palantir, and the Orc Captain uses his last point of Might to call a Heroic March- with the last Crebain on the board flying over the battle to reach behind to the bottom objective. Saruman attempts a desperate Sorcerous Blast on Legolas, but it is easily resisted with the Elf's Will. It is actually the Orcs who save Isengard's Bacon, winning the fight against Legolas, and preventing him from reaching the central objective.
Turn 10
Rohan win an important priority. With Theoden now down off the ruins, he attempts to push the Crebain back off the objective- in the hopes of reclaiming it.
Meanwhile, the forces of Isengard are now broken- and after charging Saruman, he is unable to use his standfast. Grima finally flees from his objective (but his work is already done!), but enough Orcs survive their courage test to defend the central objective for one more turn.

The Fight is a mix, with Gimli killing another Orc to clear the way to the central objective, but Legolas losing a wound in combat with Saruman, whilst the Crebain beat Theoden back from the objective, wounding the king. Ultimately, the forces of Rohan can't quite do enough- Isengard is below 25%, and the game ends.
Final Score: 7-5 Victory to Isengard
A very close game- with it really coming down to the final turn, and a few key combats. Both sides made some key errors during the game which cost them, but ultimately the numbers that Isengard had allowed them to control the board much more effectively. The Rohan chances lay with them breaking through the Orcs, and then quickly using their speed to claim the objectives in the final turns, but Saruman and his Crebain proved to be cannier opponents than The Witch King had. (I also rolled much much better than OT did!)
The next battle report will be the final in the Tale of Three wargamer series, Isengard vs Mordor, which will be on the Blog next week!
Comments
Post a Comment