Welcome to my first foray into playing the Black Seas wargame- and we're going to be starting off with a very small scale game- a single ship action fought between two Brigs during the War of 1812- where HMS Pelican captured the USS Argus off of the Irish and Welsh coasts.
The History of This Action
This Action took place on the 14th of August 1813, with the ships spotting each other very early in the morning.
The Argus was a Brig that had escaped from the blockade of the American Ports that the Royal Navy had been conducting, with a mission to deliver an American diplomat to France (who at the time, was of course at war with Britain too). The Argus achieved its mission- and after this, her Captain, Master and Commander William Allen, decided to remain in the Atlantic and seas around Britain to disrupt merchant sailing. He and his crew were extremely successful at this, capturing and burning in the region of 20 merchantmen in a short space of time.
Ultimately, this flurry of activity was to lead to the Argus' downfall. With a tired crew, and smoke from a recent merchantmen being burnt leading the Pelican to find the Argus off of the Welsh coast.
HMS Pelican's Captain, Master and Commander John Maple had been dispatched with the purpose of finding the American ship that had been disrupting merchant ships, and whilst the Pelican was also a Brig, it was much more heavily armed than the Argus.
When the Argus spotted the Pelican- Allen made the decision not to flee, but to stand and fight. This decision is thought to have been made due to his involvement in a previous action, where the USS United States had defeated HMS Macedonian, and so Allen's belief in the superiority of American ships led him to believe he could defeat the British ship.
Ultimately, Allen died during the fight, which lasted just 45 minutes, with his crew striking their colours just before the British could board the ship.
The Game
I'm not using any particular scenario- instead just using some fairly simple victory conditions.
The British win if the Argus strikes its colours, or is sunk.
The Americans win if the Pelican strikes its colours, or is sunk. In addition, the Americans may earn a minor victory if they have less than half of their ship points, have damaged the Pelican's sails or rigging, and then escape the table. (This is meant to represent the Americans realising they are outmatched, but securing their chances of escape before fleeing).
The Wind begins in a North Westerly direction.
The Argus starts its first turn at Light Sails, and the Pelican starts at Battle Sails.
 |
| North to your right |
(A quick note- I forgot to use the Nation special rules... It shouldn't have made it unfair- as both nations get +1 to shooting, but may have affected the amount of misses!)
The Ships
The Argus is a Brig with the streamlined hull special rule- to represent its slight edge in speed.
The Pelican is a Brig with extra carronades- to represent the heavier armament it had.
 |
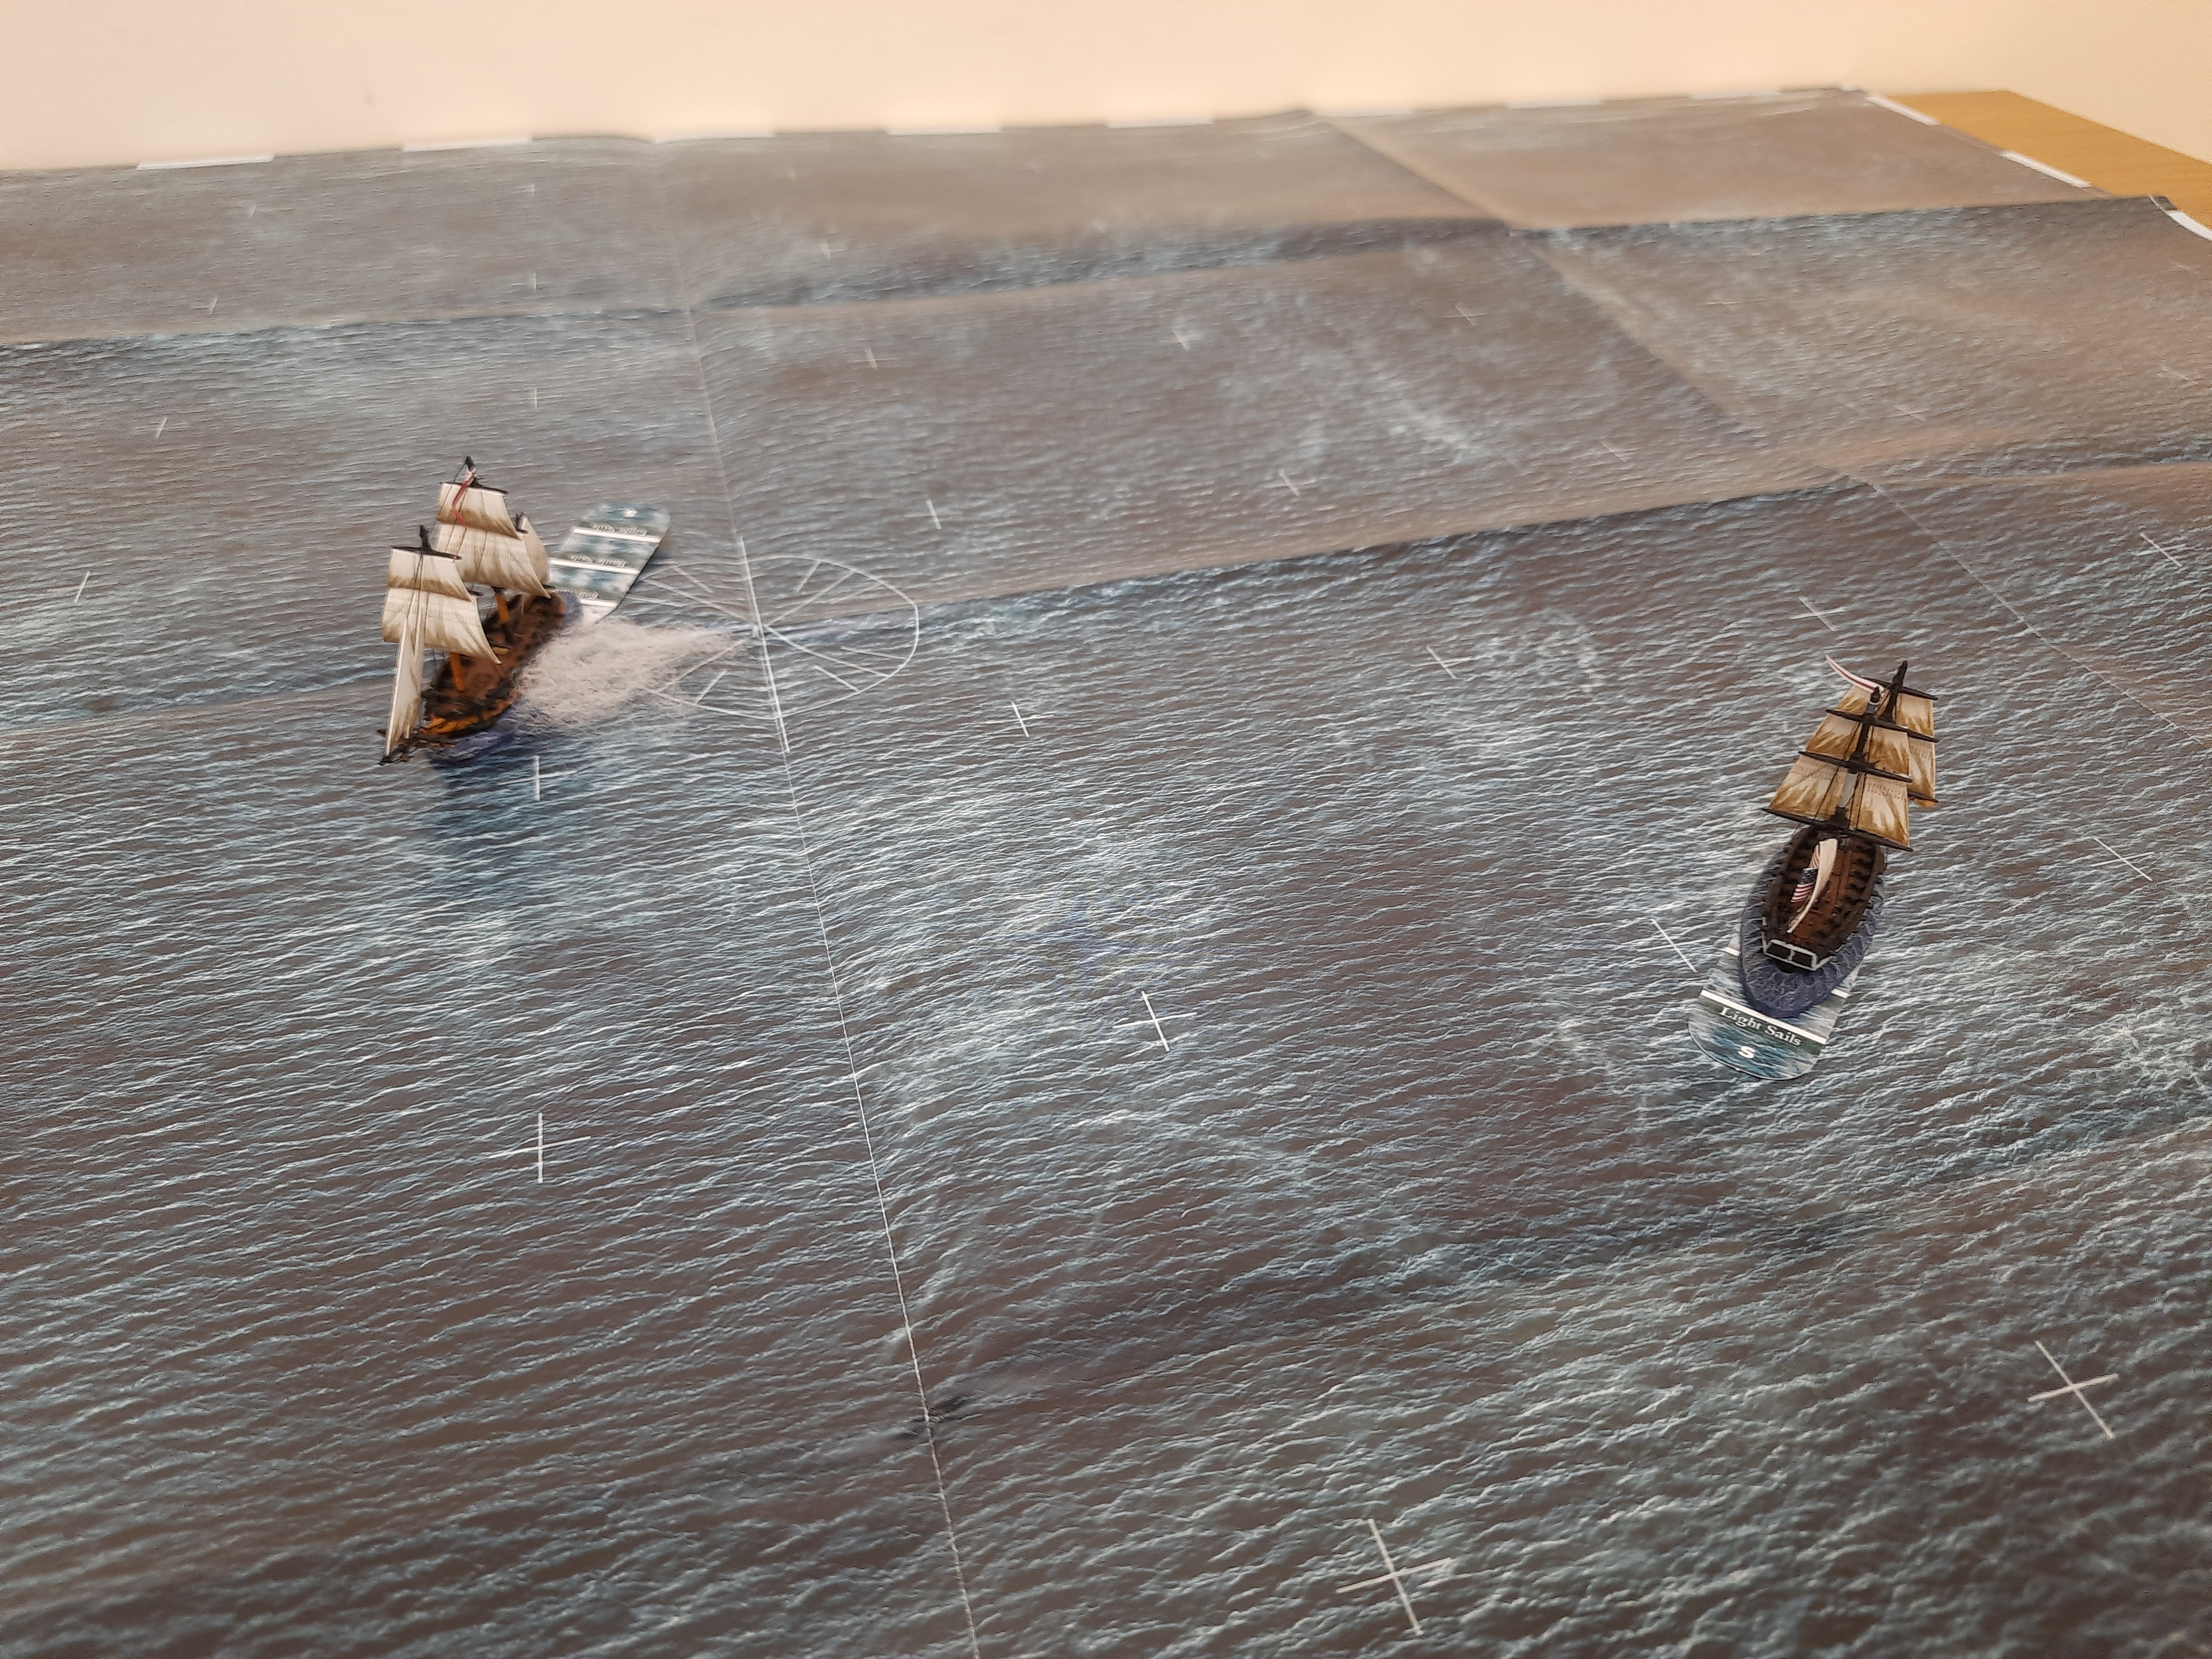
| Sail on the horizon- beat to quarters! |
With no change in Wind direction, we're off!
HMS Pelican goes first- angling directly North to keep the weather gage.
USS Argus responds, steering towards the Pelican- but is unable to get it's broadside to bear against the Brig.
 |
| The Brigs quickly close with each other |
Turn 2
HMS Pelican takes advantage of the wind by moving into Full Sails. Performing an arching turn- the Pelican positions itself for an initial broadside.
Needing a 2 or below to hit, the Pelican fired it's broadside- succeeding with a single 1. This means that in addition to suffering 2 damage, the Argus has also suffered a critical hit! The initial shots have hit the Rudder- leaving the Argus unable to properly steer!
 |
| British gunnery quickly secures a critical hit on the Argus! |
Due to the canny manoeuvring of the Pelican- the Argus once more cannot fire it's broadside. Without steering, the Brig limps the maximum that the wind allows. The rudder locks into place this turn- preventing the Argus from turning, and leaving it in a dangerous position...
Turn 3
With the success of the previous turn fresh in their memory, HMS Pelican's crew once again steered to fire a broadside after the Argus. The range had now exceeded 10" however, so even having dropped back to Battle Sails, the Pelican's shot's were short of the mark.
With the rudder back under control, the Argus is still attempting to turn so that it can shoot the Pelican. It moves to turn into the wind- restricting it's movement- but hopefully ensuring that it could start tacking into having the weather gage next turn.

With perhaps a stroke of luck- the wind suddenly shifts to a westward direction- giving the Argus the weather gage even earlier than expected (Captain Allen must have felt something that the Captain Maple did not!)
Forced to tack, the Argus lines up it's first broadside of the game. Though a long shot- the Argus had the advantage of shooting whilst anchored- and managed a single hit onto the Pelican.

The Pelican continued to circle the Argus- and despite the more difficult shot, was able to reply with a hit of its own.
 |
| Fantastic accuracy from the British at long range! |
Turn 5
Still having to tack- the Argus takes advantage of the more stable broadside to fire once more at the Pelican. Unfortunately, no shots are able to hit this time.
The Pelican continues to try and make life difficult for the gunners of the Argus, manoeuvring once more to the rear of the Brig- though it's own gunnery is ineffective too.

Turns 6-8
Both ships now at Light Sails, they drift apart. The Argus' crew attempt to repair their vessel as they drift South, but fail to reduce the damage counter. The Pelican sails off the board in order to return on Turn 8 facing the Argus.
Turn 9

With the weather gage firmly in it's favour- the Argus menacingly drops anchor- and tacks to face it's broadside towards the Pelican. Knowing the heavily armoured Brig would ideally like to get in close, but is only able to currently sail at light sails, the Argus means to force the Pelican into suffering as many broadside's as possible in the next few turns.
HMS Pelican subtly moves to face slightly away from the Argus this turn- enabling it to achieve battle sails in Turn 10.
Turns 10-11
Neither ship is able to fire in Turn 10- instead USS Argus subtly shifts to prepare for a future broadside- and the Pelican zigzags through the waves to maintain its Battle Sails.
The next turn sees the Argus finely able to fire- but the Pelican is at too extreme a range to hit. The Pelican returns fire- but is likewise unable to hit the stationary target.
 |
| Once again, the Americans miss the mark |
Turn 12
Once again tacking, the Argus fires another broadside, but once again fails to hit.
The Pelican decides to close in this turn- finally making it to just within 10". Finally, the Royal Navy land another hit onto the Argus.
Turn 13
Turn 13 sees the wind shift to a south easterly blow- and now favours the British, despite the weather gage still being with the Americans.
The Argus, still fearing the carronades, opts to once again tack. Once again it fails to hit the target. The US gunnery has not been able to match the British so far!
The Pelican continues circling- but struggles to hit the Argus (perhaps I spoke to soon about that gunnery!)
Turn 14
Captain Allen of the Argus finally decides enough is enough- and makes an unorthodox move- tacking so that it presents a raking shot to the Pelican! However, there is no real concern here- as the extreme range means that the Pelican cannot hope to hit the US ship by firing as she bears!
The Pelican drops to Light Sails, and fires a broadside- striking another hit into the Argus- though not quite managing to rake her.
 |
| The British once again manage to hit their target- their shooting has been deadly |
Turn 15
The Argus finally moves- clearly intending now to manoeuvre behind the Pelican.
The Pelican had, however, dropped to light sails the previous turn, and so is able to turn into the wind this turn to fire. Just within 8", the carronades are able to act for the first time in the game. The heavy cannons both hit- dealing 4 damage to the Argus. The Argus is now very close to its break value- and would appear to be in danger of losing the day!

Turn 16
It's not quite over for the Americans though. The Pelican will now be forced to either remain stationary, or tack away from the wind... and expose it's rear to the Argus. Sensing that perhaps the British were more of a threat than initially thought, the American gunners aim high at the rigging to try and prevent the ship from chasing. They once again completely miss their target.
The Pelican tacks in order to be able to move the next turn.
Turn 17-18
 |
| A raking shot into the British ship? |
The Argus sees it's chance- and attempts to fire as she bears, raking the Pelican. Being so heavily damaged, the Argus will only receive 1 shot though, and once again fails to hit the British ship. Sailing off the table, the Pelican must return in Turn 19. The Pelican tacks, before tacking once again in Turn 18. Knowing where your enemy will be next turn has it's advantages...
Turn 19
With the USS Argus sailing back into view, the Pelican finally has the weather gage again. The Pelican fires all of it's cannons into the Argus, with both Heavy Cannons hitting.
 |
| The greatest blow of the game- and it's too much for the crew of the Argus! |
Taking it's break test- the Argus strikes its colours- perhaps unsurprisingly given the enormous damage it had received- and the Pelican takes the ship as her prize!
 |
| Where each ship went throughout the game |
Reflection
That was a great game- full of manoeuvring and tense exchanges of broadsides. What I thought was really interesting was that the bonuses I gave to the ships didn't seem to affect the outcome much at all- the British Carronades never landed a hit, with all the work being from the Heavy Cannons. What allowed the British to win was good use of the weather gage at the beginning of the game, and the poor gunnery from the Americans- which really let them down! Trying to keep the enemy at distance, whilst remaining accurate was tricky- and the confidence of the British to close constantly proved to be much more effective- perhaps the Americans should have braved the carronades in hope of a better shot?
It might be a while before the next battle, as I have a frigate (or two) to finish painting before then- but I'm hoping to continue my look into the War of 1812 soon!
Thanks for reading!
Comments
Post a Comment